Mortal Shell 2 Crumbling Tunnel — Triarch Repeater Map
Updated August 24, 2026 · Checked for the current launch build
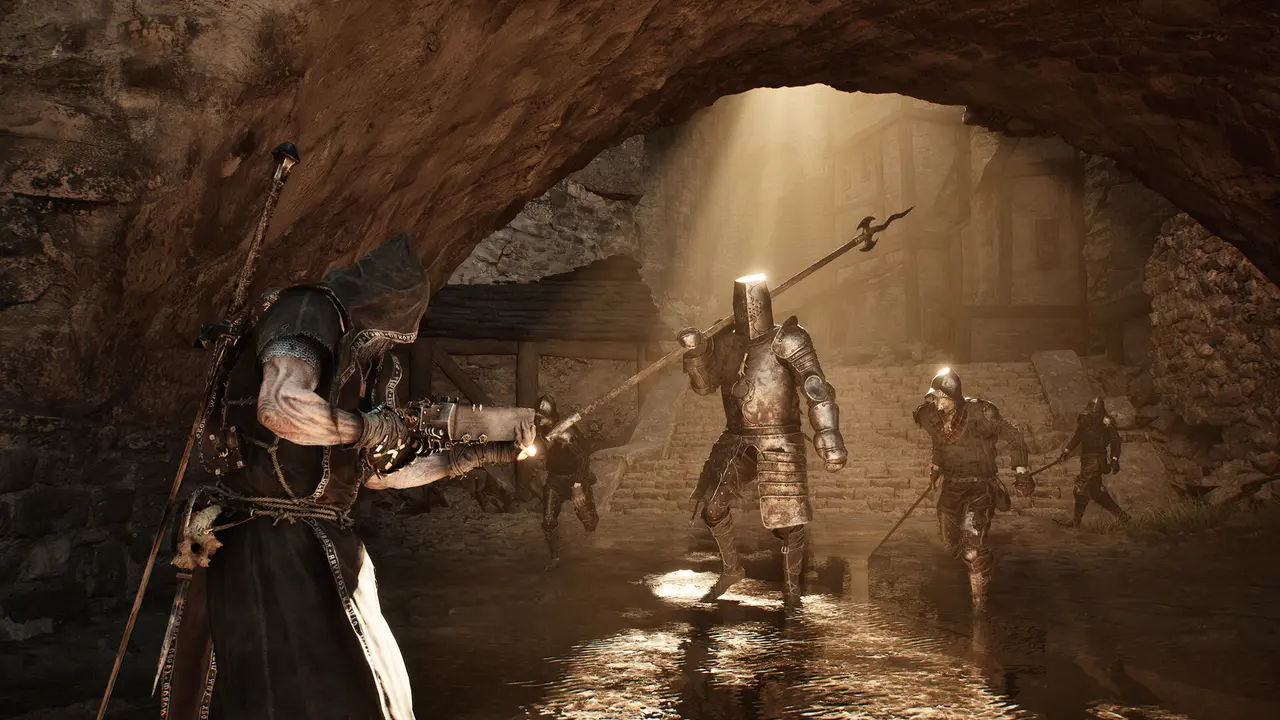
Official promotional screenshot: Steam / Cold Symmetry / Playstack
Location and preparation
Complete route
- From Blackridge Pass, travel northeast toward the glowing Shattered Beacon and Proxima's Shell.
- Find the white-mist cave on the east side of that route. Crossing the fog names this version of Crumbling Tunnel on the map.
- Pull the wooden lever and ride the platform lift down into the mine shaft.
- Take Ventrium from the green statue on the right. Approach the enemy farther in, then collect Laterite behind the rock that falls.
- At the dead end, destroy the explosive jars to reveal a large white bone tablet: the map for Proxima's Triarch Repeater sidearm.
- Picking up the tablet starts the collapse. Turn around immediately, avoid the dust and falling-rock cues, ignore optional fights, and sprint to the lift.
- Ride out. The shaft seals behind you and this dungeon cannot be re-entered on that cycle.
Puzzle and stuck-point decoder
| What is stopping you | What to do | How to confirm it worked |
|---|---|---|
| The map is not visible | Shoot or strike the explosive jars at the dead end | A large white tablet is exposed underneath |
| The cave begins collapsing | Retrace the only tunnel and prioritize the lift | You reach the platform before rock seals the shaft |
| The tablet did not add a sidearm | Treat it as a location map, then continue to Blackwell Cavern | The clue points toward the later Triarch Repeater pickup |
Loot checklist
| Reward | Where it is | Why it matters |
|---|---|---|
| Triarch Repeater map | White bone tablet under explosive jars | Reveals Proxima's signature sidearm location |
| Ventrium | Green statue on the right after the lift | Upgrade material |
| Laterite | Behind the rock that falls farther in | Weapon upgrade material |
Before you leave
- This route becomes inaccessible after the map pickup and escape. Collect Ventrium, Laterite, and Gloom first.
- Spend a large carried Gloom balance before entering. Player reports describe recovery markers becoming trapped inside after a collapse death.
- One current walkthrough reports another small area with the same display name. Use Shattered Beacon and Proxima as the reliable landmarks for the Repeater-map route.
Sources
Related guides
All dungeon locations · Interactive map checklist · Key locations · All sidearms
Frequently asked questions
Where is Crumbling Tunnel in Mortal Shell 2?
The relevant cave is east of the Shattered Beacon where Proxima is found, northeast of Blackridge Pass in Fainweald.
What is inside Crumbling Tunnel?
The important pickup is a map to the Triarch Repeater, not the sidearm itself. The same run also contains Ventrium and Laterite.
Can I return to Crumbling Tunnel after it collapses?
Not to this Shattered Beacon version in the same cycle. Collect every side pickup before taking the tablet that triggers the collapse.
What should I do if I get stuck in Crumbling Tunnel?
If you get trapped by falling boulders or miss the lift timing during the collapse sequence, quit to the main menu and reload your save. The game will place your character safely outside the cave entrance with all collected items intact.