Mortal Shell 2 Boss Order and Locations
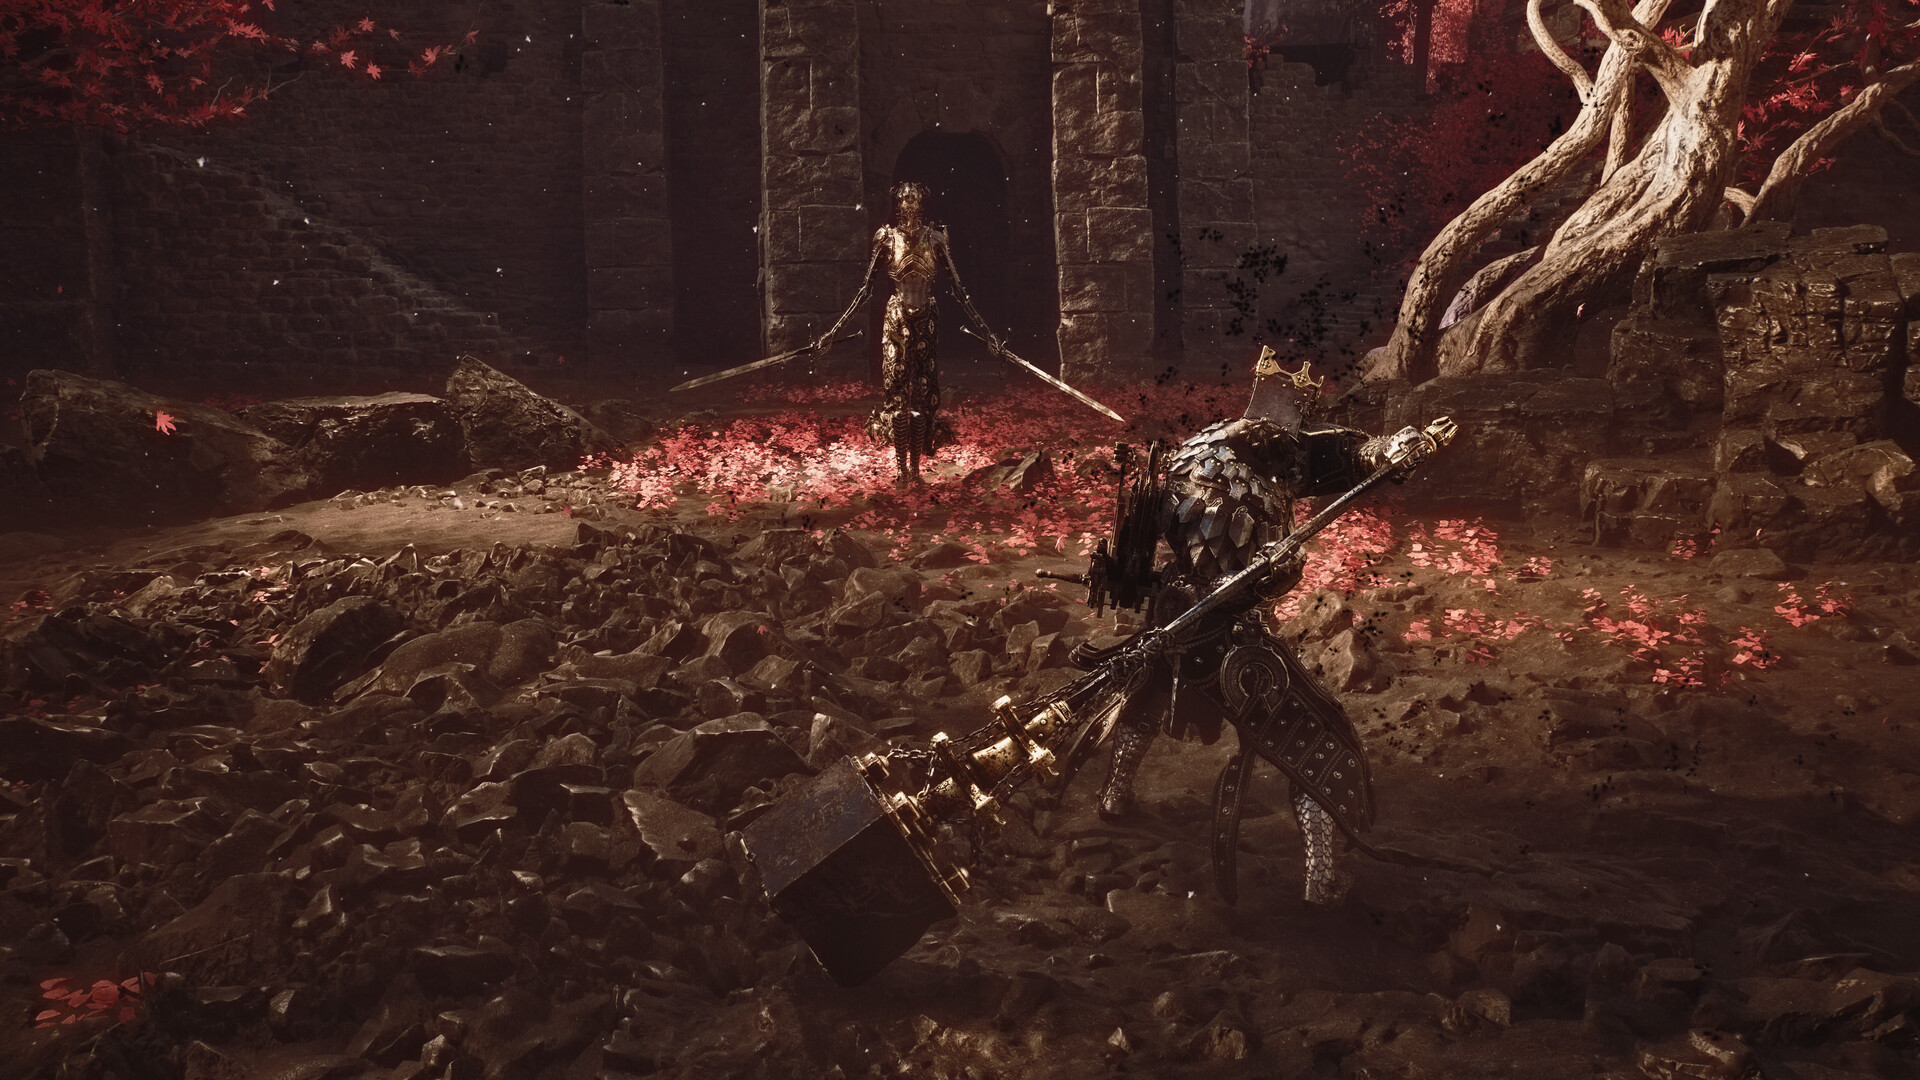
Official promotional screenshot: Steam / Cold Symmetry / Playstack
Recommended progression order
- Finish the prologue fights and reach Marrow Keep.
- Follow the early Fainweald Beacon route and secure a permanent Shell.
- Clear the three Fainweald Corrupted Gates as your build allows.
- Explore Mammon and clear its three Corrupted Gates.
- Return to Marrow Keep after reaching the endgame Ovum requirement.
- Defeat the three Unfound Path guardians, then Zmey.
Open-world bosses and the first six gates permit flexibility. If one gate hard-counters your current loadout, upgrade elsewhere and return.
Corrupted Gate bosses
| Dungeon | Region | Boss | Reported summon |
|---|---|---|---|
| Glutted Mire | Fainweald | Magdalena, Lady of the Woods | Smert |
| Sanguine Caverns | Fainweald | The Lost Child | Tiel |
| Prisoners' Domain | Fainweald | The Nameless Captive | Eredrim |
| Conquered Temple | Mammon | Droeg the Conqueror | Gragu |
| Withered Shoals | Mammon | Hexapod | Proxima |
| Faded Citadel | Mammon | Isaac, the Scholar Prince | Lazlo |
Each major gate encounter advances Ova progression and rewards a build-defining ability stone. Glimpses used to enable optional Shell summons compete with Shell Bond upgrades, so spend them deliberately.
Unfound Path and final boss
| Area | Boss | Planning note |
|---|---|---|
| Bridge of Procession | Orrem, the Discarded Golem / Orrem, the Reclaimed | Two-phase guardian |
| Obsidian Vault | The Monolith | No Shell summon reported |
| Faithful's Shelter | Malborn Offspring | Long chained attacks; save resources for phase two |
| Centre platform | Zmey, the Unbidden | Final campaign boss |
The three branches unlock the route to Zmey. Defeating Zmey returns you to free roam; the run ends only when you later select Send Ova at the Gloom Siphon. If weapons vanish during Zmey, unequip Grisha Remnant — details on the PC fixes page.
Read the Send Ova checklistBosses tied to Shell unlocks
| Boss | Area | Unlock path |
|---|---|---|
| The Warden | Citadel of Penance | Eredrim |
| Sester Secundus | Revenant Graves | Genessa via Sester's Censer |
| Vellen, High Lord of Mammon | High Lords Courtyard route | Lazlo |
| Sariel, the Endless | Chamber of Becoming | Sariel |
These encounters do not replace the eight-Shell route. See the dedicated Shell locations guide for the steps before and after each fight.
Named minibosses and optional fights
Game8 lists about 44 named boss flags. Gamer Guides maps 45–46 pins. Many are Beacon-dungeon elites, not Corrupted Gate stories. Attack-string detail is thinner than the ten major bosses; each page below keeps location and drops that multiple launch guides agree on, and flags conflicts instead of inventing combos.
| Region | Encounter | Why it matters |
|---|---|---|
| Prologue | Gloombound Ritualist · Tainted Vestige · Tar Golem | First caster, first grab boss, Harden unlock |
| Fainweald overworld | Great Arbiter · Grisha · Broodshell Swarm · Pale Grisha · Bloodcursed Lithopod | Arbiter's Prize, heal Vessel/Gland, Citadel lever |
| Village / swamp | Vrannic · Grasping Root · Wandering Shepherd | Volatile Fragment, Magdalena approach |
| Gates (Fainweald) | Vrago · Lucian · Tarblighted Stoner · Tishina's Confessor · Gloombound Legion · Rabid Grisha Pack | Voltaic Crown, Serpent Stone, Prisoners' Domain / Sanguine access |
| Mammon | Urrig · Caged Grisha · Strange Grisha · Infested Miner · Gloombound Wraith · Starved Harridan · Viletongue Batushka · Subjugated Guardian · Bor · Twin Sesters · Stray Sesters · Prophet of Profane Infinities | Weapon/sidearm/infusion pickups (Black Needle, Ballistazooka, Obsidian Hammer, Voltaic Amber) |
| Faded Citadel | Servants of the Scholar Prince · Solnir | Blue-light mechanics before Isaac |
Boss preparation that works across builds
- Spend recoverable Gloom and lock in upgrades before entering a new arena.
- Use the first attempt to identify chain length, delayed swings, and red/unblockable attacks.
- Do not empty Resolve on the opener; keep a defensive or posture-breaking option available.
- Switch Shell or sidearm if the fight punishes the current range and recovery timing.
- For multi-phase fights, learn the first phase cheaply before consuming limited resources.
Official gameplay reveal
Official video: Playstack / Cold Symmetry