Mortal Shell 2 Hall of Echoes Puzzle Walkthrough
Updated August 24, 2026 · Checked for the current launch build
Quick answer: Bring the Crypt Key and a working sidearm. Break the false wall, drop into the hole, use the hidden return passage, stand on the pressure plate and shoot the bell. The bell repairs the gap; cross it and strike the pillar onto the plate to hold the final door open.
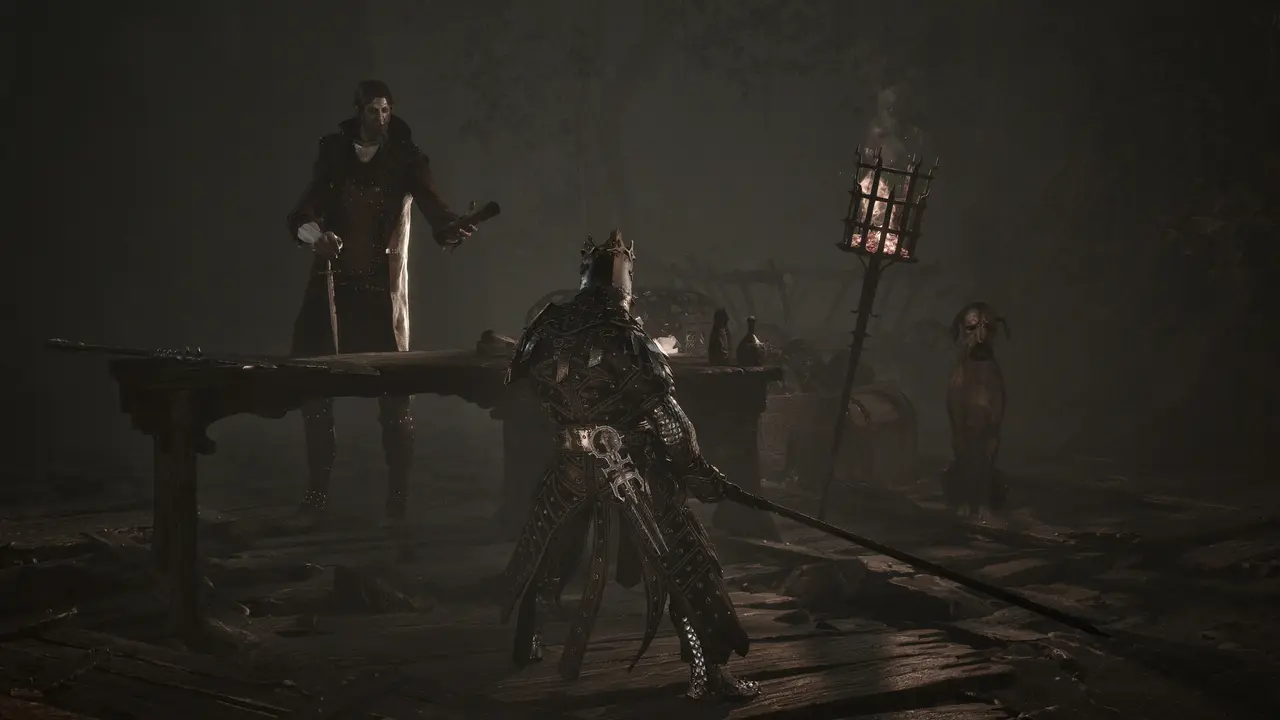
Official promotional screenshot: Steam / Cold Symmetry / Playstack
Location and preparation
RegionNortheast Fainweald
Nearest landmarkBetween Grisha Hunting Grounds and Stones of Remembrance
Before enteringCrypt Key from Desolate Peak, above Illusionist's Cache
Complete route
- Collect the Crypt Key at Desolate Peak, in the structure above the Illusionist's Cache dungeon. Check the table or shelf near the rear entrance.
- Travel to northeast Fainweald. The locked crypt door is north of Grisha Hunting Grounds and south of Stones of Remembrance.
- Unlock the door, take the elevator down, descend the stairs, and clear the coffin enemies hiding in the entrance tunnel.
- At the bright wall blocking the tunnel, attack the surface. It is a false wall and opens the route to the puzzle chamber.
- Drop into the hole beside the pressure plate, defeat the two ghosts, collect the Laterite from the white branch, then attack the wall at the top of the stairs to reveal the return passage.
- Back at the plate, stand on it and aim a sidearm through the raised opening. Shoot the large bell; hit the nearby Resolve stalk first if you cannot fire.
- Cross the repaired floor, move behind the stone pillar, and strike it toward the pressure plate. Center it until the final wall stays raised.
- Inside the reward room, check the sheep for the reported optional Totem, inspect the bone chair, and open the chest before touching the white exit light.
Puzzle and stuck-point decoder
| What is stopping you | What to do | How to confirm it worked |
|---|---|---|
| The entrance tunnel looks blocked | Attack the brightly lit wall | The wall breaks and reveals the plate chamber |
| The pillar is stranded across a hole | Stand on the plate and shoot the bell with a sidearm | The floor reforms across the gap |
| The final wall falls when you step off | Strike the movable pillar onto the pressure plate | The wall remains raised without your weight |
Loot checklist
| Reward | Where it is | Why it matters |
|---|---|---|
| Sheephead Totem (reported extra) | Kill the sheep in the final room | A stealth-oriented transformation item; currently one detailed source |
| Dorsalite | Interact with the bone chair | Tarforge upgrade material |
| Winterglass Gem | Open the final chest | Reported sale value: 1,000 Coin at Merrick |
| Laterite | White branch below the puzzle room | Weapon upgrade material |
Before you leave
- Carry a sidearm and enough Resolve to fire. The nearby Resolve stalk is the intended recovery if you arrive empty.
- The two breakable walls look like ordinary stone; attack them instead of searching for a lever.
- The white light returns you to the entrance. Collect the sheep reward, chair material, and chest first.
Sources
Related guides
All dungeon locations · Interactive map checklist · Key locations
Frequently asked questions
Where is Hall of Echoes in Mortal Shell 2?
It is in northeast Fainweald, north of Grisha Hunting Grounds and south of Stones of Remembrance. The entrance is a locked crypt door.
Which key opens Hall of Echoes?
The Crypt Key. It is found at Desolate Peak in the structure above the Illusionist's Cache dungeon.
How do I move the Hall of Echoes pillar across the gap?
Stand on the pressure plate and shoot the large bell with a sidearm. The bell repairs the floor, letting you cross and hit the pillar onto the plate.
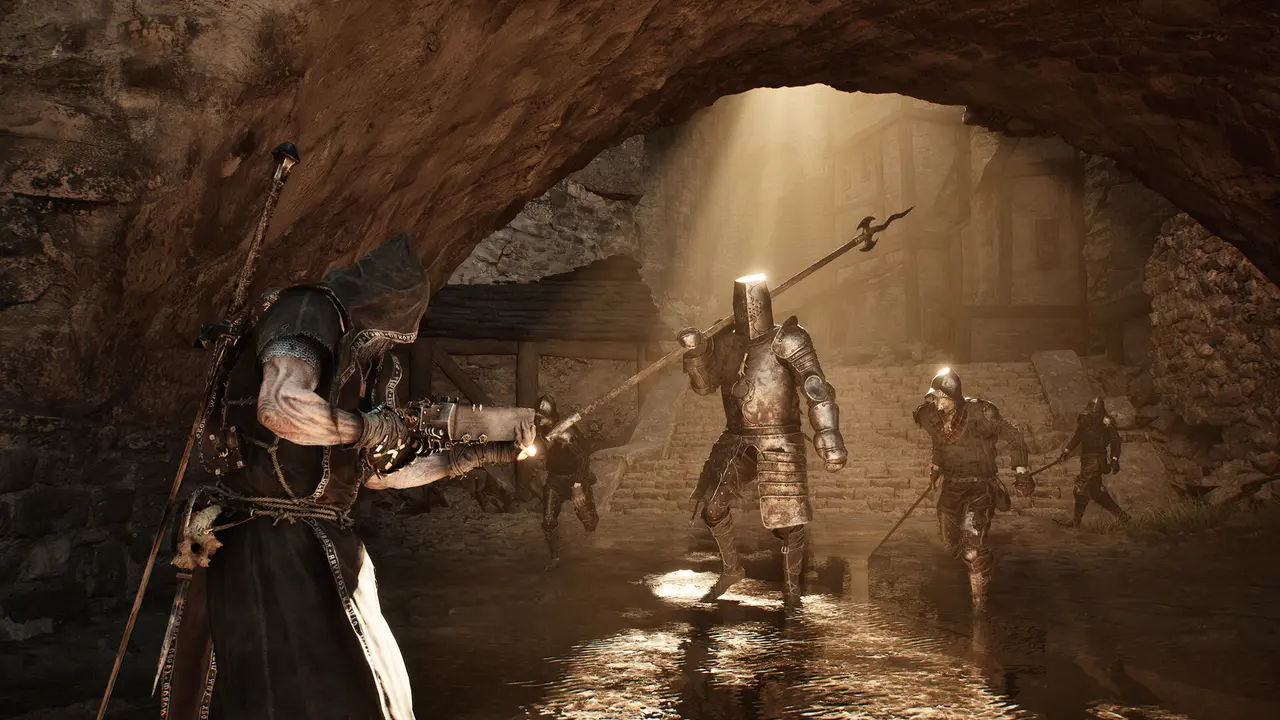
Evidence: Routes and rewards are synthesized from the current walkthroughs linked on this page and cross-checked where a second source exists. Promotional images illustrate the game's dungeon environments; they are not turn-by-turn map screenshots. Reviewed August 24, 2026.