Mortal Shell 2 Skill Tree Priority — Best Skills First
Updated August 24, 2026 · Checked for the current launch build
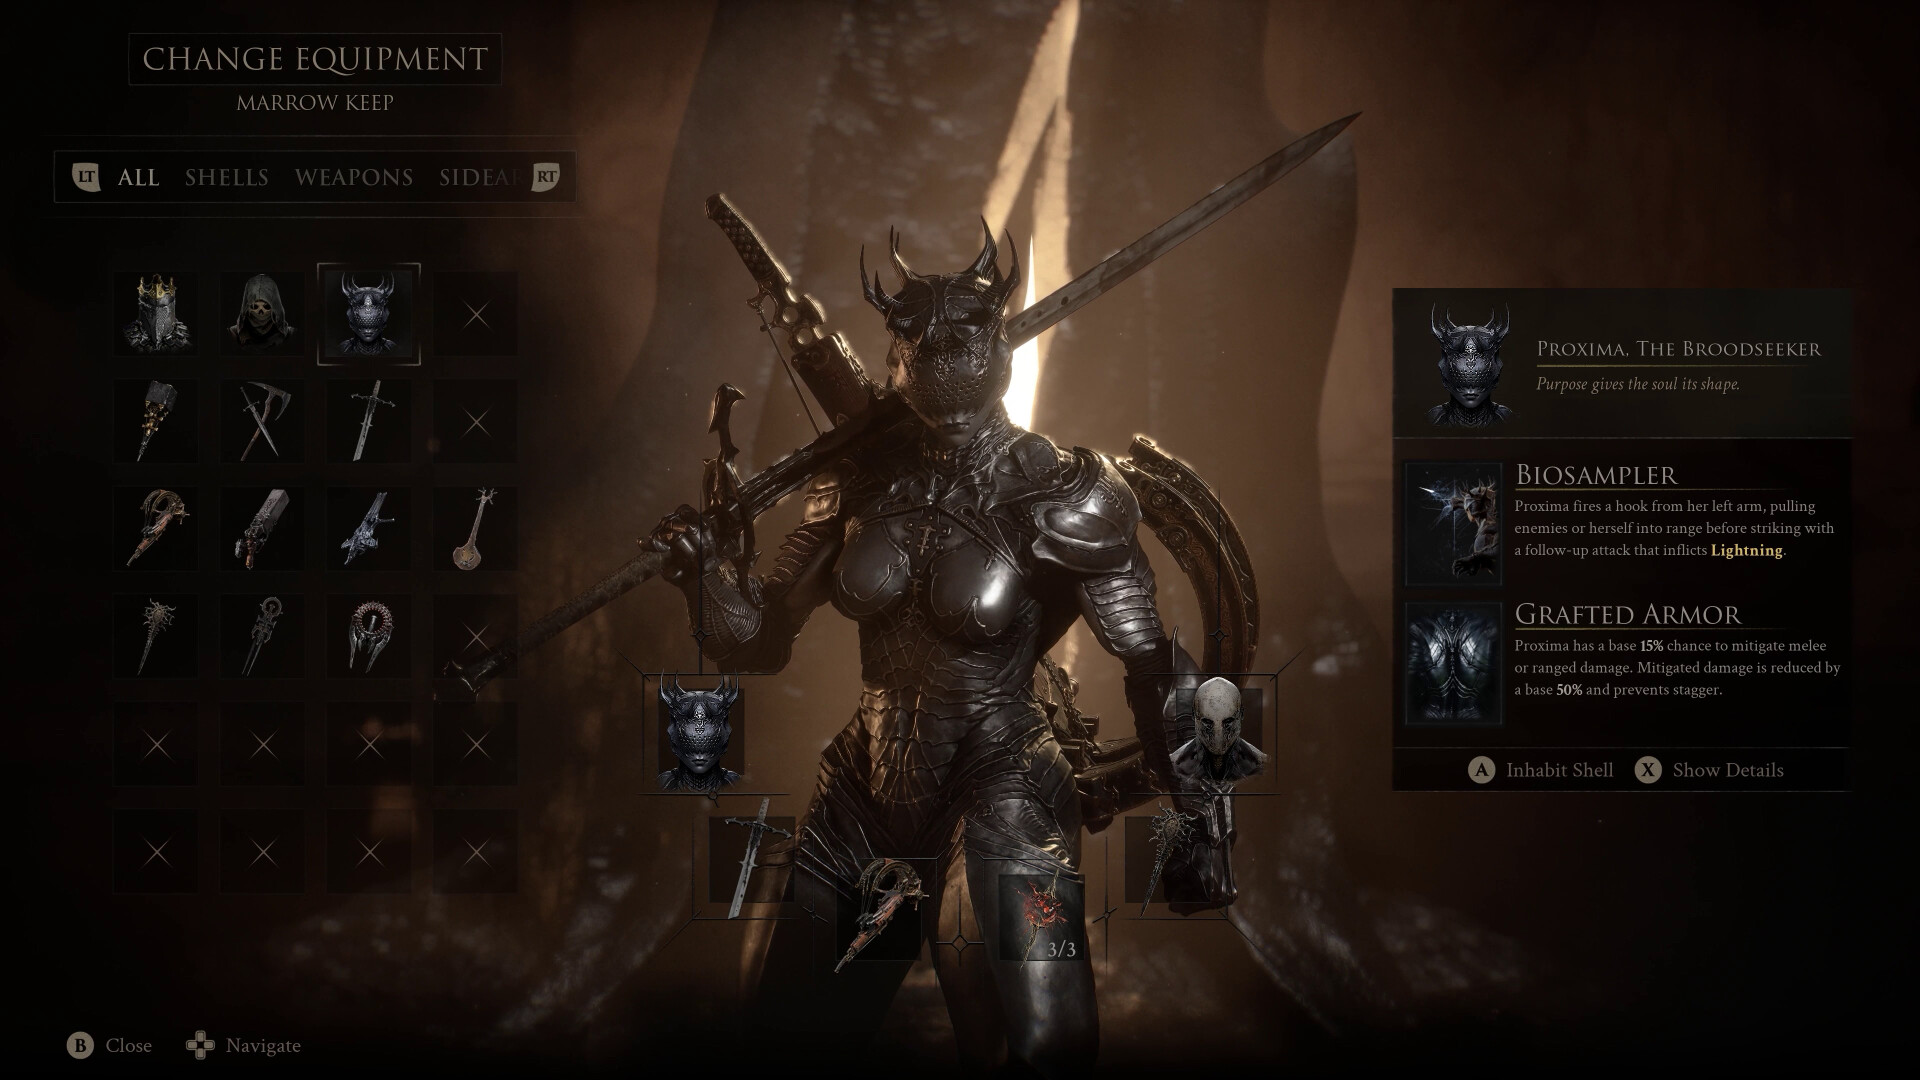
Official promotional screenshot: Steam / Cold Symmetry / Playstack
Shell Points and Glimpse are different decisions
Shell Points
Buy and level individual skills. These are the part you can experiment with and reassign. Use them to test whether an ability loop feels good.
Glimpse / Bond
Unlocks access to deeper skill tiers. This is the scarce investment. Launch guides place a full Bond commitment at about 27 Glimpse per Shell.
That difference changes the right order: try several skill allocations with Shell Points, but do not raise every Shell's Bond simply to inspect later tiers.
Best first skills by Shell
| Shell | First | Second | Then | Reason |
|---|---|---|---|---|
| Tiel | Escalation | Deathmark | Poison Burst | Shadow Strike first; add the critical/ailment payoff only after the opener works. |
| Proxima | Attunement | Exoshell | Biohazard → Seizure | Make Biosampler cheaper, then protect its animation, then buy damage and control. |
| Gragu | Attunement | Anger | Maniac / Escalation | Cast Staggering Blow more often before multiplying its punch and follow-up melee. |
| Eredrim | Alacrity | Anguish | Oppression → Seal Affinity | Speed and discount Shoulder Bash before adding Break and riposte support. |
These are priorities, not a mandatory max-level allocation. Stop after the first breakpoint, play a dungeon or boss, and spend the next points on the problem you actually felt.
A safer three-checkpoint investment plan
- First functional loop: buy cost, speed, or animation protection plus one level of the core damage skill.
- First build identity: add the matching weapon/Tarstone and one debuff or critical payoff.
- Late specialization: only then buy execute stacks, low-health bonuses, secondary ability trees, and situational Seal affinity.
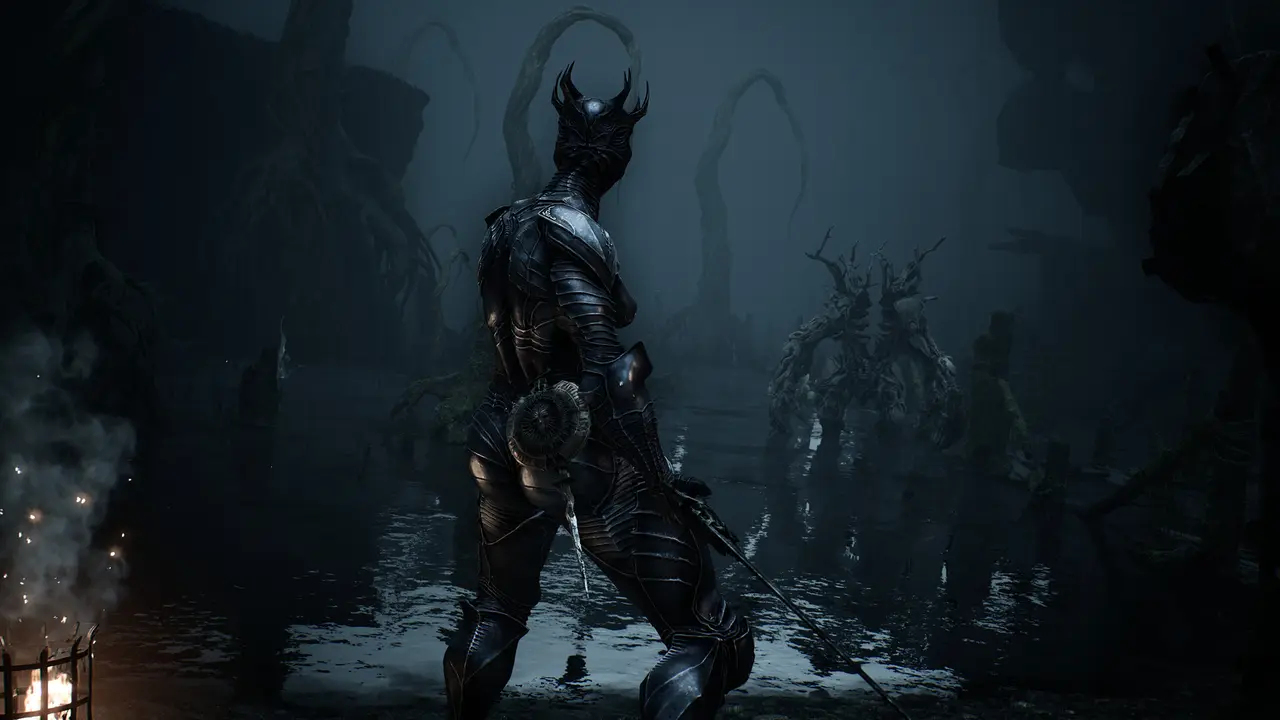
Early, mid, and late skill targets
| Shell | Early functional target | Mid-build target | Late specialization |
|---|---|---|---|
| Tiel | Escalation + Deathmark | Ambush / Nightstride; Poison Burst only with a Poison source | Shadow Clone and Seal Affinity |
| Proxima | Attunement + Exoshell | Biohazard + Seizure | Discharge and the Lightning/Stasis package |
| Gragu | Attunement + Anger; one efficient Escalation point | Maniac + Bloodthirst/Bloodlust | Hunger, Fortify, or Harvest by risk tolerance |
| Eredrim | Alacrity + Anguish | Oppression + Seal Affinity | Massacre, Apathy, and Tank for the chosen branch |
External guides publish configurations around 10/20/40 points for Tiel and 14/21/44 for Proxima, but those are example builds—not universal caps. Use the named breakpoints above and verify the current in-game cost before copying an exact total.
How to choose the next skill yourself
| Problem in play | Buy next | Avoid for now |
|---|---|---|
| You rarely have enough Resolve | Ability cost reduction or faster Resolve generation | More high-cost ability stones |
| The ability gets interrupted | Charge speed, mitigation, stealth, or a Harden plan | End-of-combo damage |
| The ability lands but the enemy recovers | Stagger, Break, Stasis, or a faster weapon punish | Kill-triggered exploration bonuses |
| Normal routes are fine; bosses are hard | Single-target control and repeatable defense | On-kill healing or crowd explosions |
| Bosses are fine; exploration drains healing | Kill-triggered defense, crowd control, or sustain | Low-health glass-cannon nodes |
Common ways to waste a first playthrough
- Spending Glimpse on several Shells before deciding which two you will actually use.
- Maxing a damage node while the ability remains too expensive or too slow to land.
- Buying an ailment detonation before you have a dependable source of that ailment.
- Copying an NG+ allocation that assumes equipment and Tarstones you cannot obtain yet.
- Judging a skill only against normal enemies; boss arenas change the value of kill-triggered effects.
Official gameplay reveal — compare Tiel, Eredrim, and Proxima abilities
The official footage helps compare ability commitment and recovery. Use the written priority table for current launch-build investment.
Related guides
Complete builds · Change Shell and respec · Gloom and Glimpse · Best Shells
Frequently asked questions
Can you respec Shell skills in Mortal Shell 2?
Yes. Shell Points can be reassigned. Glimpse used to raise Bond is the meaningful long-term commitment, so test a Shell before pushing it to the highest Bond tier.
How much Glimpse does it take to max a Shell?
Launch guides report roughly 27 Glimpse to reach maximum Bond on one Shell. Treat that number as patch-sensitive and keep a reserve until you know which Shell you want to main.
Should I upgrade damage or defense first?
First solve ability access: cost, charge speed, or animation safety. Add damage next. Defensive and utility nodes rise in priority if the core ability already lands reliably but you still die during the follow-up.
Can I max every Shell in one playthrough?
Not realistically under the launch economy. Plan one primary Shell, one secondary Shell, and minimal unlock investment elsewhere unless New Game Plus is part of your plan.